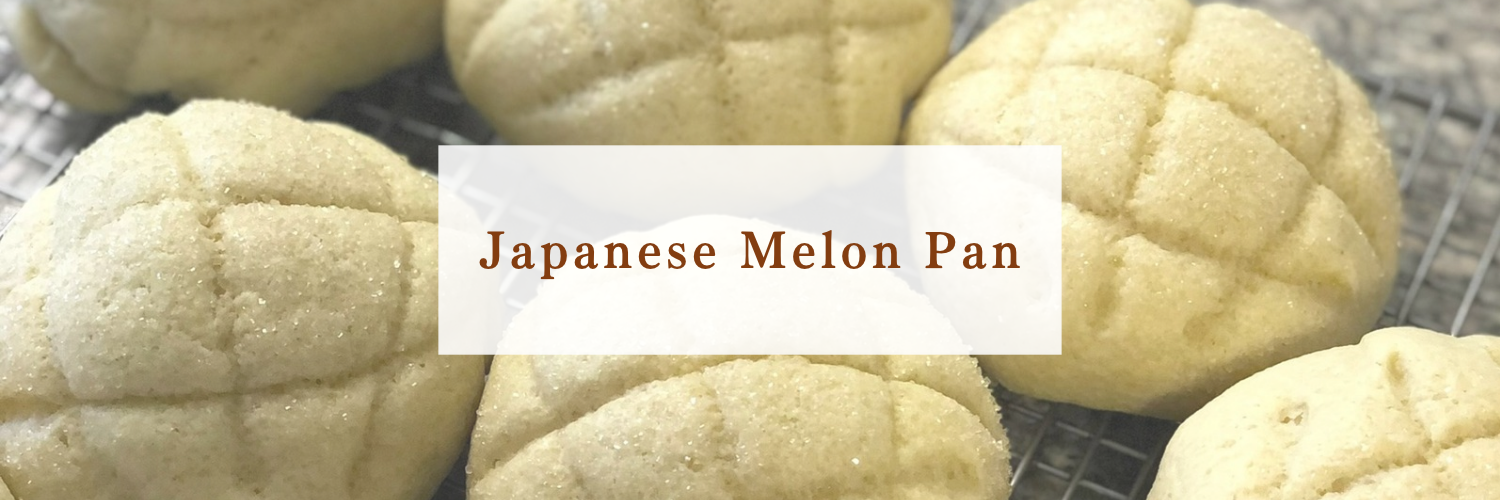
In Japanese bakeries, you’ll always find round, golden melon pan lined up on the shelves.
Crispy on the outside, soft and fluffy on the inside, with sparkly sugar on top — just looking at it makes me happy.
But when you live outside Japan, it’s hard to find melon pan nearby, even when you’re craving it.
So today I’m sharing the full recipe for the melon pan I introduced in my Instagram reel.
You can make it with ingredients from any regular grocery store. Making two kinds of dough (a bread dough and a cookie dough) might sound like a lot of work. But I’ve written every step carefully, so don’t worry if you’ve never baked bread before.
Wait — is there melon in melon pan?
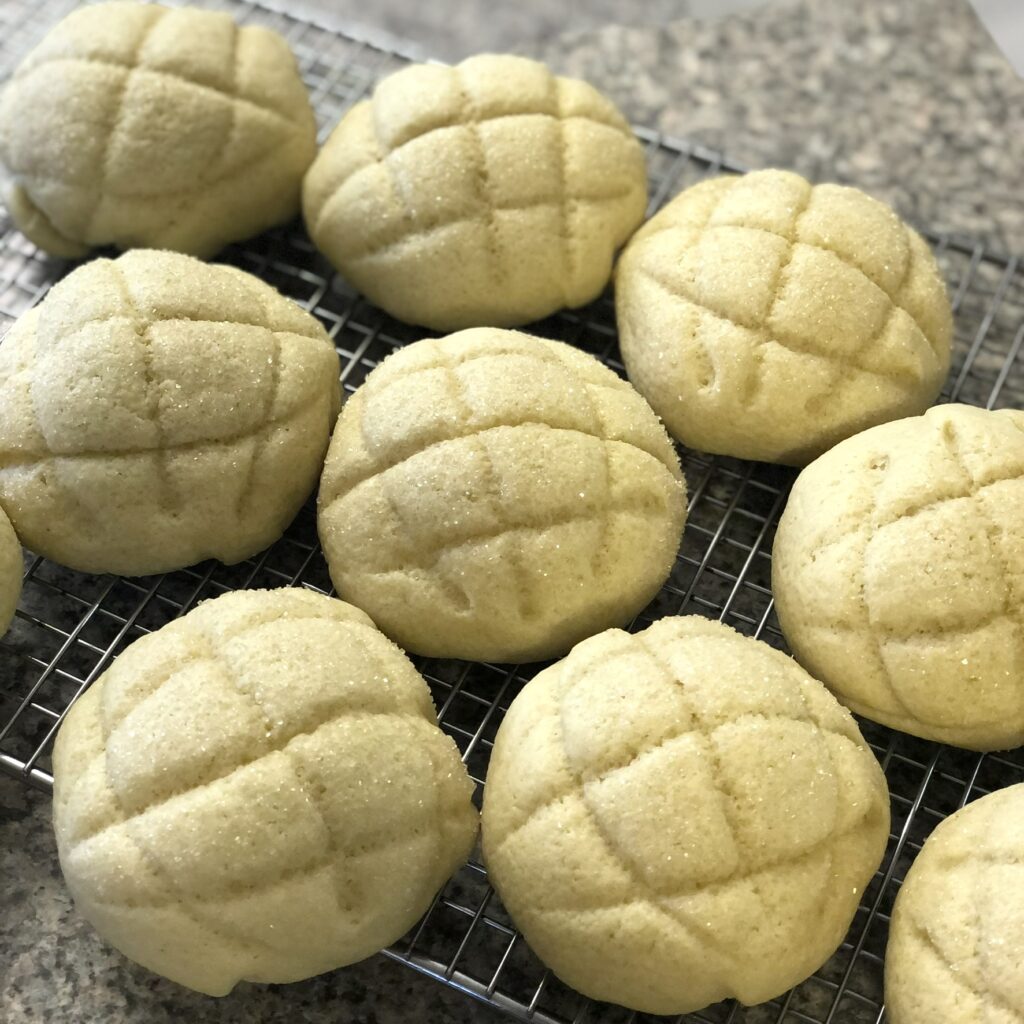
Nope! Melon pan is a sweet bread roll covered with a thin layer of crisp cookie dough. It gets its name from its look: the crosshatch pattern on top resembles a cantaloupe. It’s one of the most loved kashi-pan (sweet breads) in Japan, sold at every bakery and convenience store.
Table of Contents
Why I Bake Melon Pan at Home
Bakeries in Canada are full of muffins and croissants, but you rarely see Japanese-style sweet breads.
Melon pan is one of them. Something that’s everyday in Japan becomes a special treat when you live abroad.
My kids love melon pan. I often bake a big batch, freeze them, and pack them in their lunch boxes.
Recently, my son’s classmates got really curious about this bread they’d never seen before. He shared a little with them, and they loved it.
Now they sometimes ask him, “Can I have your mom’s melon pan?” He has a school trip next week, and he’s asked me to bake enough for all his friends!
Seeing Canadian kids enjoy a taste of Japan makes me so happy.
The best part of homemade is eating it fresh from the oven. The sweet smell of bread and butter fills the kitchen, and the whole house feels warm and cozy.
Scoring the pattern with a bench scraper and coating the tops with sugar are fun steps to do with kids. Even if the shapes come out a little uneven, that’s part of the charm of homemade melon pan. It doesn’t have to be perfect.
Ingredients (Makes 10)
Before you start: bring the unsalted butter and eggs to room temperature.
Bread dough
- All-purpose flour: 300 g
- Salt: 1 tsp
- Granulated sugar: 3 tbsp
- Instant yeast: 1½ tsp
- Egg: 1
- Milk, warmed to body temperature: 100 ml
- Unsalted butter: 30 g
Cookie dough
- Unsalted butter: 60 g
- Granulated sugar: 100 g
- Egg: 1
- Vanilla extract: ½ tsp
- All-purpose flour: 200 g
- Baking powder: ½ tsp
Topping
- Granulated sugar: 4 tbsp
Ingredient Tips
- Flour: Regular all-purpose flour works for both the bread dough and the cookie dough. You don’t need separate bread flour and cake flour, which makes this recipe easy to try.
- Yeast: Look for “Instant Yeast” or “Quick Rise” yeast. You can mix it right into the flour.
- Butter: Use unsalted butter.
- Sugar: Regular granulated sugar is perfect. You’ll use plenty for the topping, so keep some extra on hand.
- Vanilla: Use vanilla extract.
How to Make Melon Pan
There are three main stages: bread dough → cookie dough → shaping and baking. You’ll make the cookie dough while the bread dough rises, so no time is wasted.
Make the Bread Dough
1. In a bowl, mix all the bread dough ingredients except the butter. Once it comes together, add the butter and knead well. Shape the dough into a smooth ball.
Tip: Warm the milk to body temperature! If it’s too hot, it will weaken the yeast. It should feel just slightly warm when you dip your finger in.
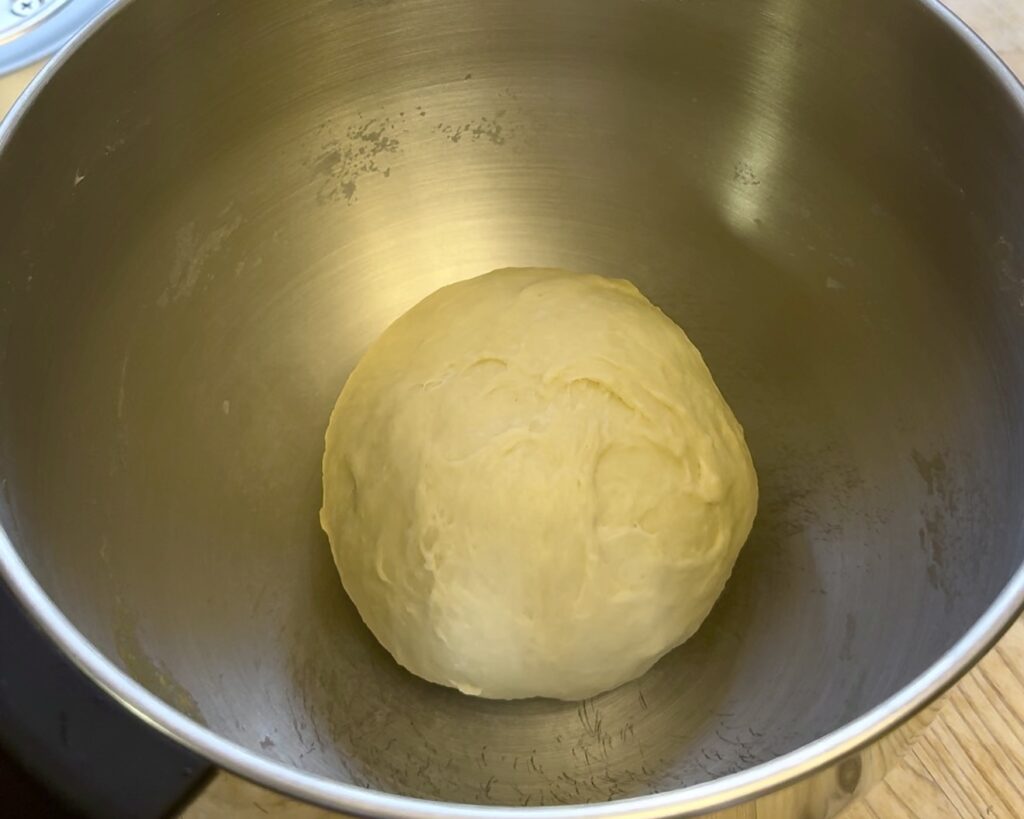
2. Place the dough in a bowl, cover with plastic wrap, and let it rise for about 1 hour, until doubled in size (first rise).
Canadian homes can be cool in winter, and the dough may rise slowly. If your oven has a “Proof” setting (100°F / 38°C), it’s very handy.
Make the Cookie Dough
3. In another bowl, beat the butter and sugar with a whisk until pale and creamy.
4. Add the beaten egg and vanilla extract, and mix.
Add the egg a little at a time so the mixture doesn’t separate.
5. Add the flour and baking powder and mix well. Gather the dough together and divide it into 10 pieces (about 41 g each). Cover with plastic wrap and chill in the fridge until the bread dough is ready.
Chilling keeps the dough from getting sticky and makes it easier to roll out.
Shape and Bake
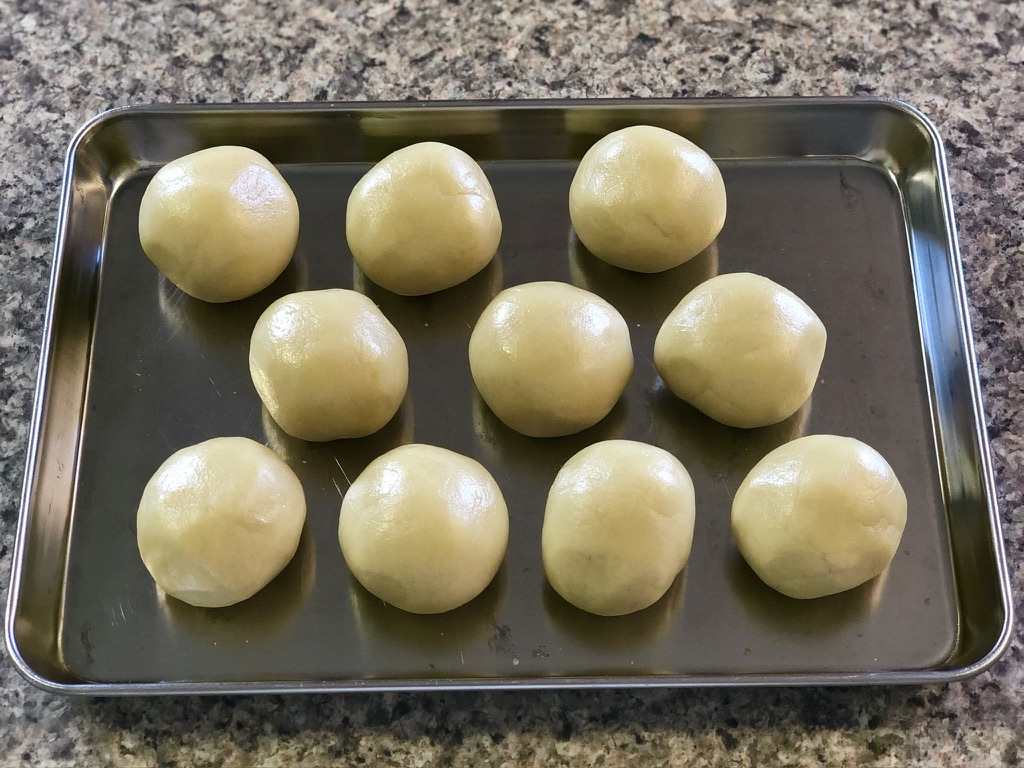
6. Gently press down the risen bread dough to release the air. Divide it into 10 pieces (about 52 g each) and roll each into a ball. Cover with a damp cloth and let rest for 10 minutes.
7. Place a piece of cookie dough between two sheets of plastic wrap and roll it out into a circle about 10 cm (4 inches) wide.
Rolling between plastic wrap keeps your hands and rolling pin clean.
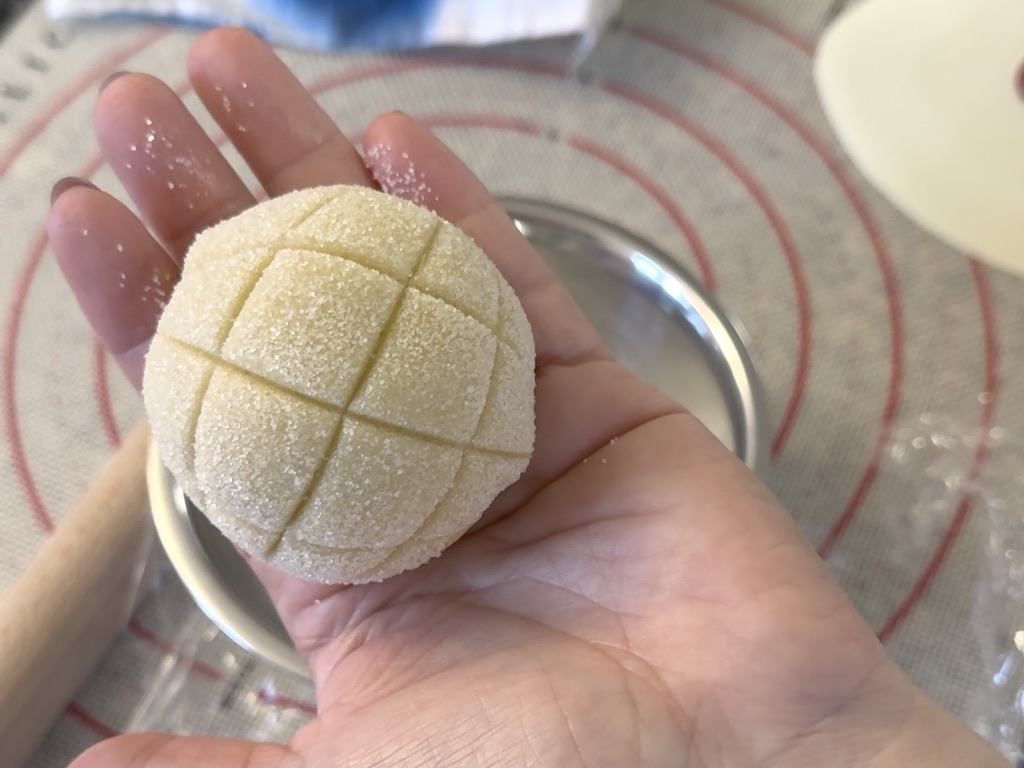
8. Wrap each bread ball with a cookie dough circle and coat the top with granulated sugar. Use a bench scraper to score a crosshatch pattern on top.
Be generous with the sugar. That’s the secret to the crispy crust!
9. Place them on a baking sheet lined with parchment paper, cover with plastic wrap, and let rise for about 40 minutes (second rise). The oven’s “Proof” setting (100°F / 38°C) works here too.
They’ll grow a bit bigger as they bake, so leave space between them.
10. Bake at 350°F (about 175°C) for 15 minutes, and they’re done!
If you used the oven for proofing, take the baking sheet out before preheating. Every oven is a little different, so keep an eye on the color and adjust the time as needed.
How to Store Melon Pan
Melon pan tastes best fresh from the oven. Once any leftovers have cooled, wrap them individually in plastic wrap.
- Room temperature: Enjoy within a few days.
- Freezer: Wrap in plastic wrap, then place in a freezer bag.
- To serve: Thaw at room temperature, or warm briefly in a toaster oven to bring back the crispy top. Watch closely, as they burn easily!
Keeping a few in the freezer makes them easy to grab for lunch boxes or after-school snacks.
Final Thoughts
When you live abroad, there are moments when you just miss the taste of home.
At times like that, melon pan baked with your own hands fills not only your tummy but your heart too.
Enjoying the process matters more than getting it perfect. Even if the shapes are a little uneven, hearing your family say “Yummy!” means it was a success.
Give it a try on a relaxed weekend. Hope you like it!